Wednesday, February 18, 2015

Is it still Valentines Day?!


Hey-

Hope your Valentines Day was filled with lots and lots of love!

I wanted to share some quick Valentines with you guys I did for my daughters classmates.  I had to revisit (these) cuties!


(click the link above on how to create these)

I got a lot of compliments on these!  Instead of using photo paper this year, I went with card stock.  Added a cute border and viola!  


For the Valentine pencil holders, I used my Tremendous Treats Valentine stamp set from Papertrey Ink.  I love this stamp set!  The endless possibilities and ideas you can come up with!

the stuff:

Valentine Pencils (Target $1)
Business Cards (Paper Source)
Tremendous Treats Valentine set 
Exacto knife
black ink (tuxedo black)
Papertrey Inks (raspberry fizz, aqua mist, and pure poppy)

I randomly stamped the paper and pencil stamp.  Then I went back and stamped the heart in three different colors, and stamped my sentiment at the top.  I took my exacto knife and made a small slit for the pencil and taped the pencil down on the back with washi tape.
Pretty simple right?!
What Valentine ideas do you come up with? Do share and comment below!
Thanks for stopping by and please come again!

Saturday, December 27, 2014

DIY Monogrammed Baby Tags

Happy Holidays


Hope everyone is enjoying family, friends, plenty of laughs, and good food.  Wanted to share a very simple tag with you guys.

Here's what you'll need:

  • Printable business cards
  • Scotch Self- Seal Laminating Pouches (business card size)
  • Ribbon 
  • Creativity    
  • Hole Punch 


( I clipped the corners at the top of the tag)
Pretty simple.  Great for attaching to diaper bags, luggage etc. Give me feedback and let me know what  you think.


Happy Crafting.

Saturday, December 6, 2014

Easy DIY Gift Tags

Hey ladies!


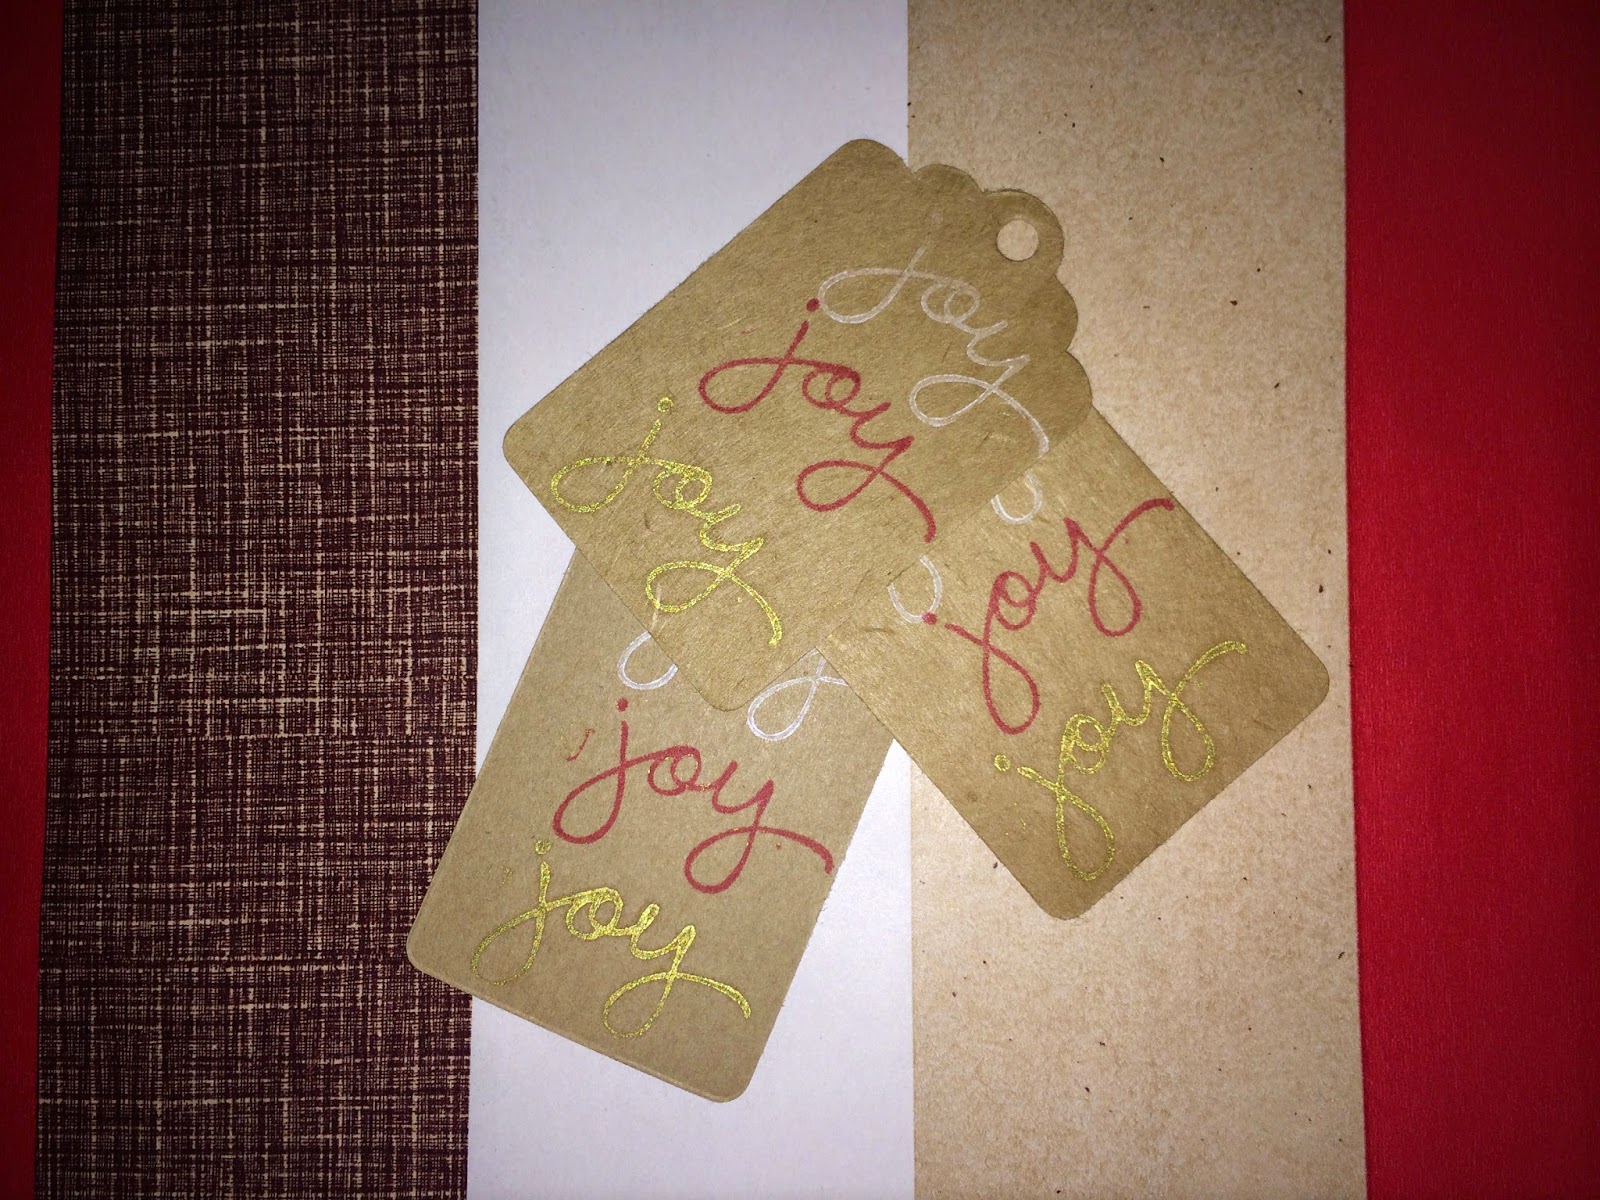
Here are some very simple DIY gift tags.


I know we're all busy shopping for that perfect gift, wrapping them, shipping them etc...
These tags will probably take you about 5 minutes tops! (depending on how many you make)


Here's what you'll need:


(and a sentiment of your choice)


I just stamped my sentiment three times in gold, red, and white and, thats it!  Attach to a gift with bakers twine and viola!  You've been to Target's dollar spot right?!  If not, its a crafters spot for sure! I got bakers twine for a buck! Also, the craft gift tags were a buck from Michael's clearance section.  

Thanks for stopping by and, HAPPY HOLIDAYS!!!

Thursday, December 4, 2014

Moxie Fab-ulous Winner

Afternoon-

Remember that Tree-mendous Tree Challenge I entered in over at Moxie Fab World?! Well I was one of the WINNERS for the challenge!  YAY!!! Yes, I was (still am) excited when I got the news with this being my first challenge.  Everyone created beautiful work.  Shout out to the other winners!
Lets not forget that snazzy winning badge right?! ((insert smile))

Check it out (here)!

Enjoy your Thursday

Naomi

Thursday, November 20, 2014

Tree-Mendous Tree Challenge


Hey loves!
Its been a little while since I took part in a challenge so I decided to join in on the Tree-mendous Tree Challenge over at Moxie Fab World

Rules:
Create a paper crafted project (card, gift bag, tag, layout, home decor item, mini-book cover, etc.) that has a tree on it! 

Heres what I came up with:


Little Tree-mendous Treat Bags


I really liked how they turned out... clean, simple, and cute!
All materials used were purchased from Michael's (we all love Michael's right?!)
I got the inspiration for the color blocking idea from a company I found on Instagram called Eastandacland.  Their work is AMAZING and simple! You would agree.

And that's about it, go over to Moxie Fab World and enter in the Tree-mendous Challenge!
Thanks for stopping by!
xoxo

Sunday, September 7, 2014

Ahoy! Mateeee...

Good evening lovelies! Haven't posted anything in FOREVER! My big sis is expecting this fall so of course I had to hook her up with Nvites for her baby shower. She went with a Nautical theme using the colors red, white, and blue. Took a kick at digital design this go round, and they came out cute! I'm defiantly still learning...


Cute right?! 

I had some Natical themed flat cards handy to use as thank you's to send to her guest with a simple sail boat stamped on the envelopes. 
I say it came out pretty good! 


Thanks for viewing...
Have a restful night! 

Wednesday, November 13, 2013

Simple DIY Monogram Frame


Simple Monogram Frame...
What you'll Need:
  • letter of choice
  • patterned 12x12 scrapbook paper
  • paint of choice
  • strong adhesive (I used Tacky Glue)
  • paint brush 
  • 12x12 picture frame 
I created these Monogram frames for my kids room to hang above their beds, and I love they way they turned out!  These monogramed frames can be used any where in the home or even as a gift!  I got all these materials from Michael's for a decent price.  

Step 1:
Paint your letter with your choice of paint.  Set aside to dry depending on the dry time for the paint used or how many coats used.

Step 2: 
Place your 12x12 patterned scrapbook paper in your 12x12 picture frame.  (I used a frameless glass frame for about 10 bucks from Michael's.)

Step 3:
Once 12x12 patterned paper is secure in 12x12 frame, center your letter on the outside of your frame as desired.

Step 4: 
Adhere your letter to the front of your frame, (If using Tacky Glue, use a generous amount, but not to much where its coming out of the sides once pressed down to 12x12 frame.) set aside to dry for about an hour. Viola! Your done! 


Here's the other Monogram Frame I did:


I was going for a football type theme.  For the lines on the football, I just used plain white paper and cut strips to resemble a football.  Pretty simple.

Please comment and let me know what you think or how your Monogram Frame turned out!
Lets get crafty!